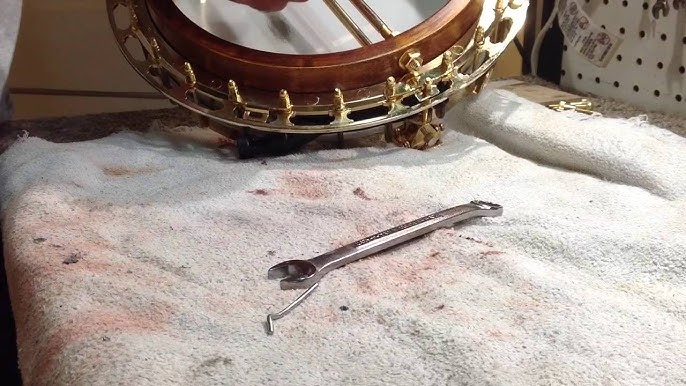
Creating a DIY banjo can be a rewarding project for those who enjoy woodworking and have some basic crafting skills. Here’s a simplified guide on how to make a basic, open-back banjo. Keep in mind that building a banjo from scratch requires woodworking tools and experience.

How To Make Yourself a DIY Banjo
Materials and Tools Needed:
- Hardwood for the neck and rim (e.g., maple, mahogany)
- Plywood for the banjo head
- Tuning pegs
- Tailpiece
- Banjo strings
- Fret wire
- Wood glue
- Wood screws
- Wood finish (e.g., varnish, lacquer)
- Banjo head material (e.g., Mylar)
- Saw
- Chisels
- Files
- Sandpaper
- Drill and bits
- Clamps
Steps to Build a DIY Banjo:
- Design and Plan:
- Start by designing your banjo. Decide on the scale length (the length between the bridge and the nut), the number of frets, and any additional features. You can find free plans and resources online for reference.
- Prepare the Rim:
- Cut and shape the hardwood for the rim of the banjo. It should be a circular shape with an open back. Steam-bending the wood may be necessary to achieve the curved shape. Glue and clamp the layers together to form the rim.
- Create the Neck:
- Cut a hardwood board to the desired length and shape it into the neck of the banjo. Make sure to create a headstock for the tuning pegs. Attach a fretboard (rosewood or ebony) to the neck.
- Install Frets:
- Cut fret slots into the fretboard, insert fret wire into the slots, and secure them in place with a small hammer. File the edges of the frets for a smooth playing surface.
- Attach the Neck to the Rim:
- Connect the neck to the rim using a dowel stick or coordinator rods. The neck should be securely fastened to the rim.
- Install the Banjo Head:
- Stretch a banjo head material (usually Mylar) over the rim and secure it with tension hooks. Tighten the head to your desired tension.
- Add Tailpiece and Strings:
- Attach a tailpiece at the bottom of the rim to hold the strings. String the banjo with the appropriate banjo strings, typically five in total.
- Tuning Pegs:
- Install tuning pegs on the headstock to adjust the string tension and tuning. Make sure they are properly aligned and functional.
- Setup and Adjustments:
- Adjust the bridge on the head to set the action (string height) and intonation. Ensure that the strings are correctly spaced on the fretboard.
- Finish and Polish:
- Sand down any rough edges, apply a finish to protect and beautify the wood, and give your DIY banjo a polished appearance.
- Test and Fine-Tune:
- Once your DIY banjo is assembled, test it, and make any necessary adjustments to achieve the desired sound quality.
Building a banjo from scratch can be a complex and time-consuming project, but it’s a fantastic way to customize your instrument to your preferences. Be patient and take your time, especially if you are new to woodworking. Consult online resources, books, or seek advice from experienced luthiers for additional guidance.
More Banjo Articles
Learn How to Play – Rainbow Connection on Banjo
How to play Foggy Mountain Breakdown on Banjo
Basic Banjo Chords
Banjo Tabs
